van Gogh
Look Up Tables




1
Taking in the Artwork
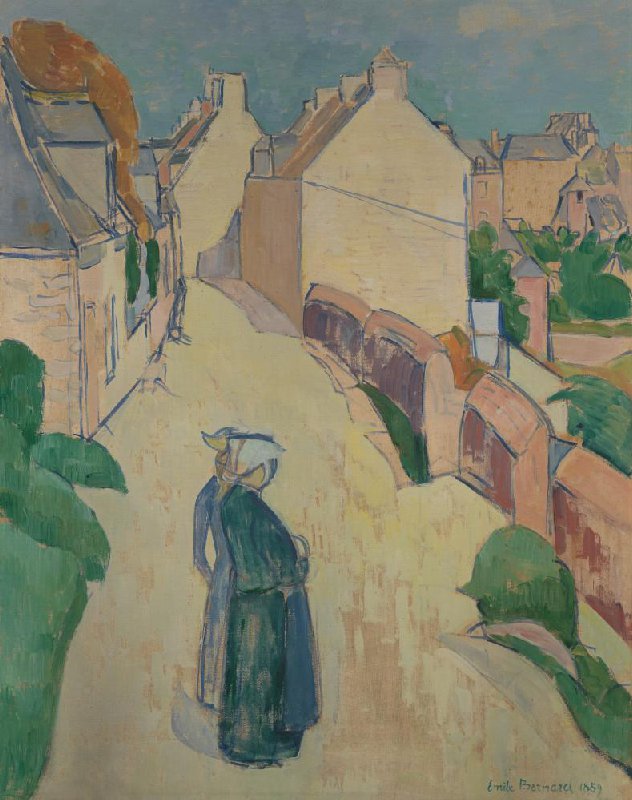
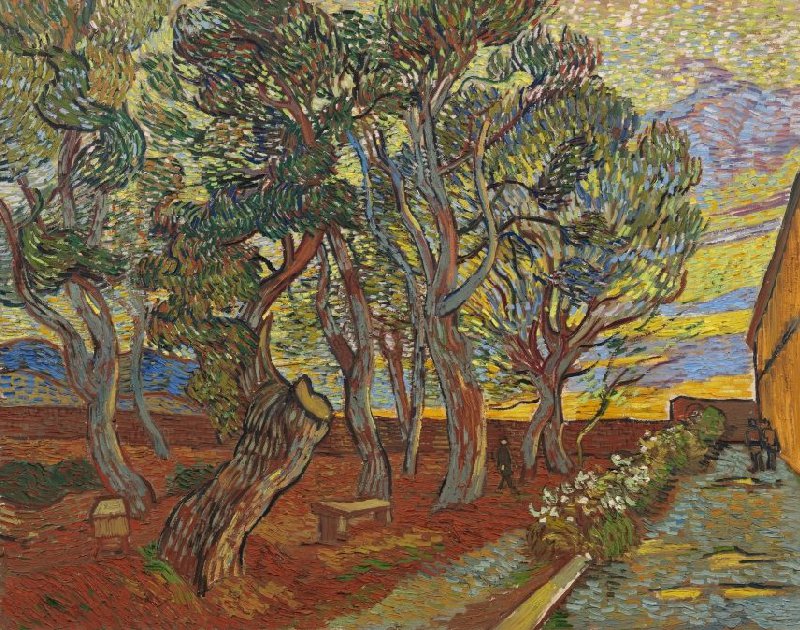
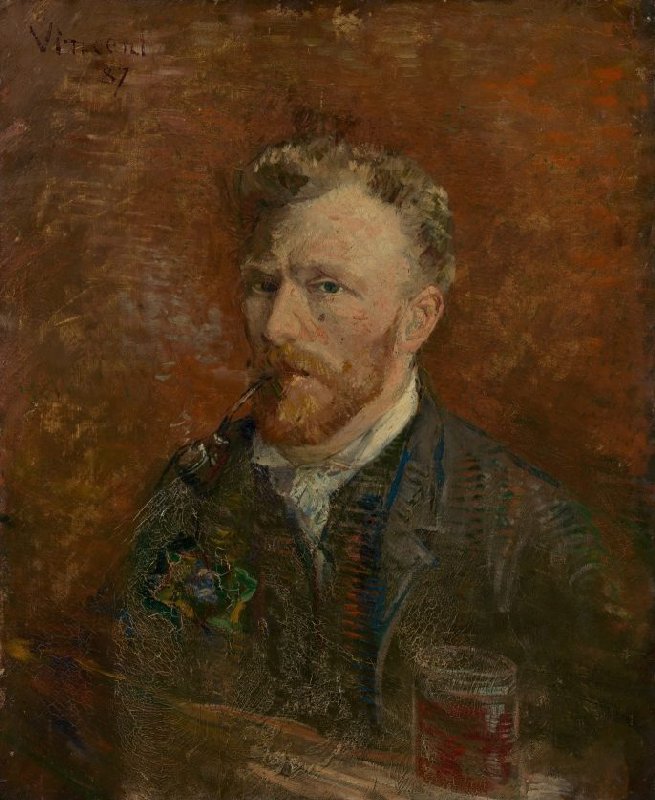
At first, we make a collection of the artwork that we wish to highlight. Recognizing the habits and patterns between different pieces of work.
2
Categorizing the pieces
Within a category, we analyse the following:
- How the use of color is regarding the higlights / midtones and shadows behave.
- How intense the brightness and contrast are.
- With colors are excluded from the color scheme.


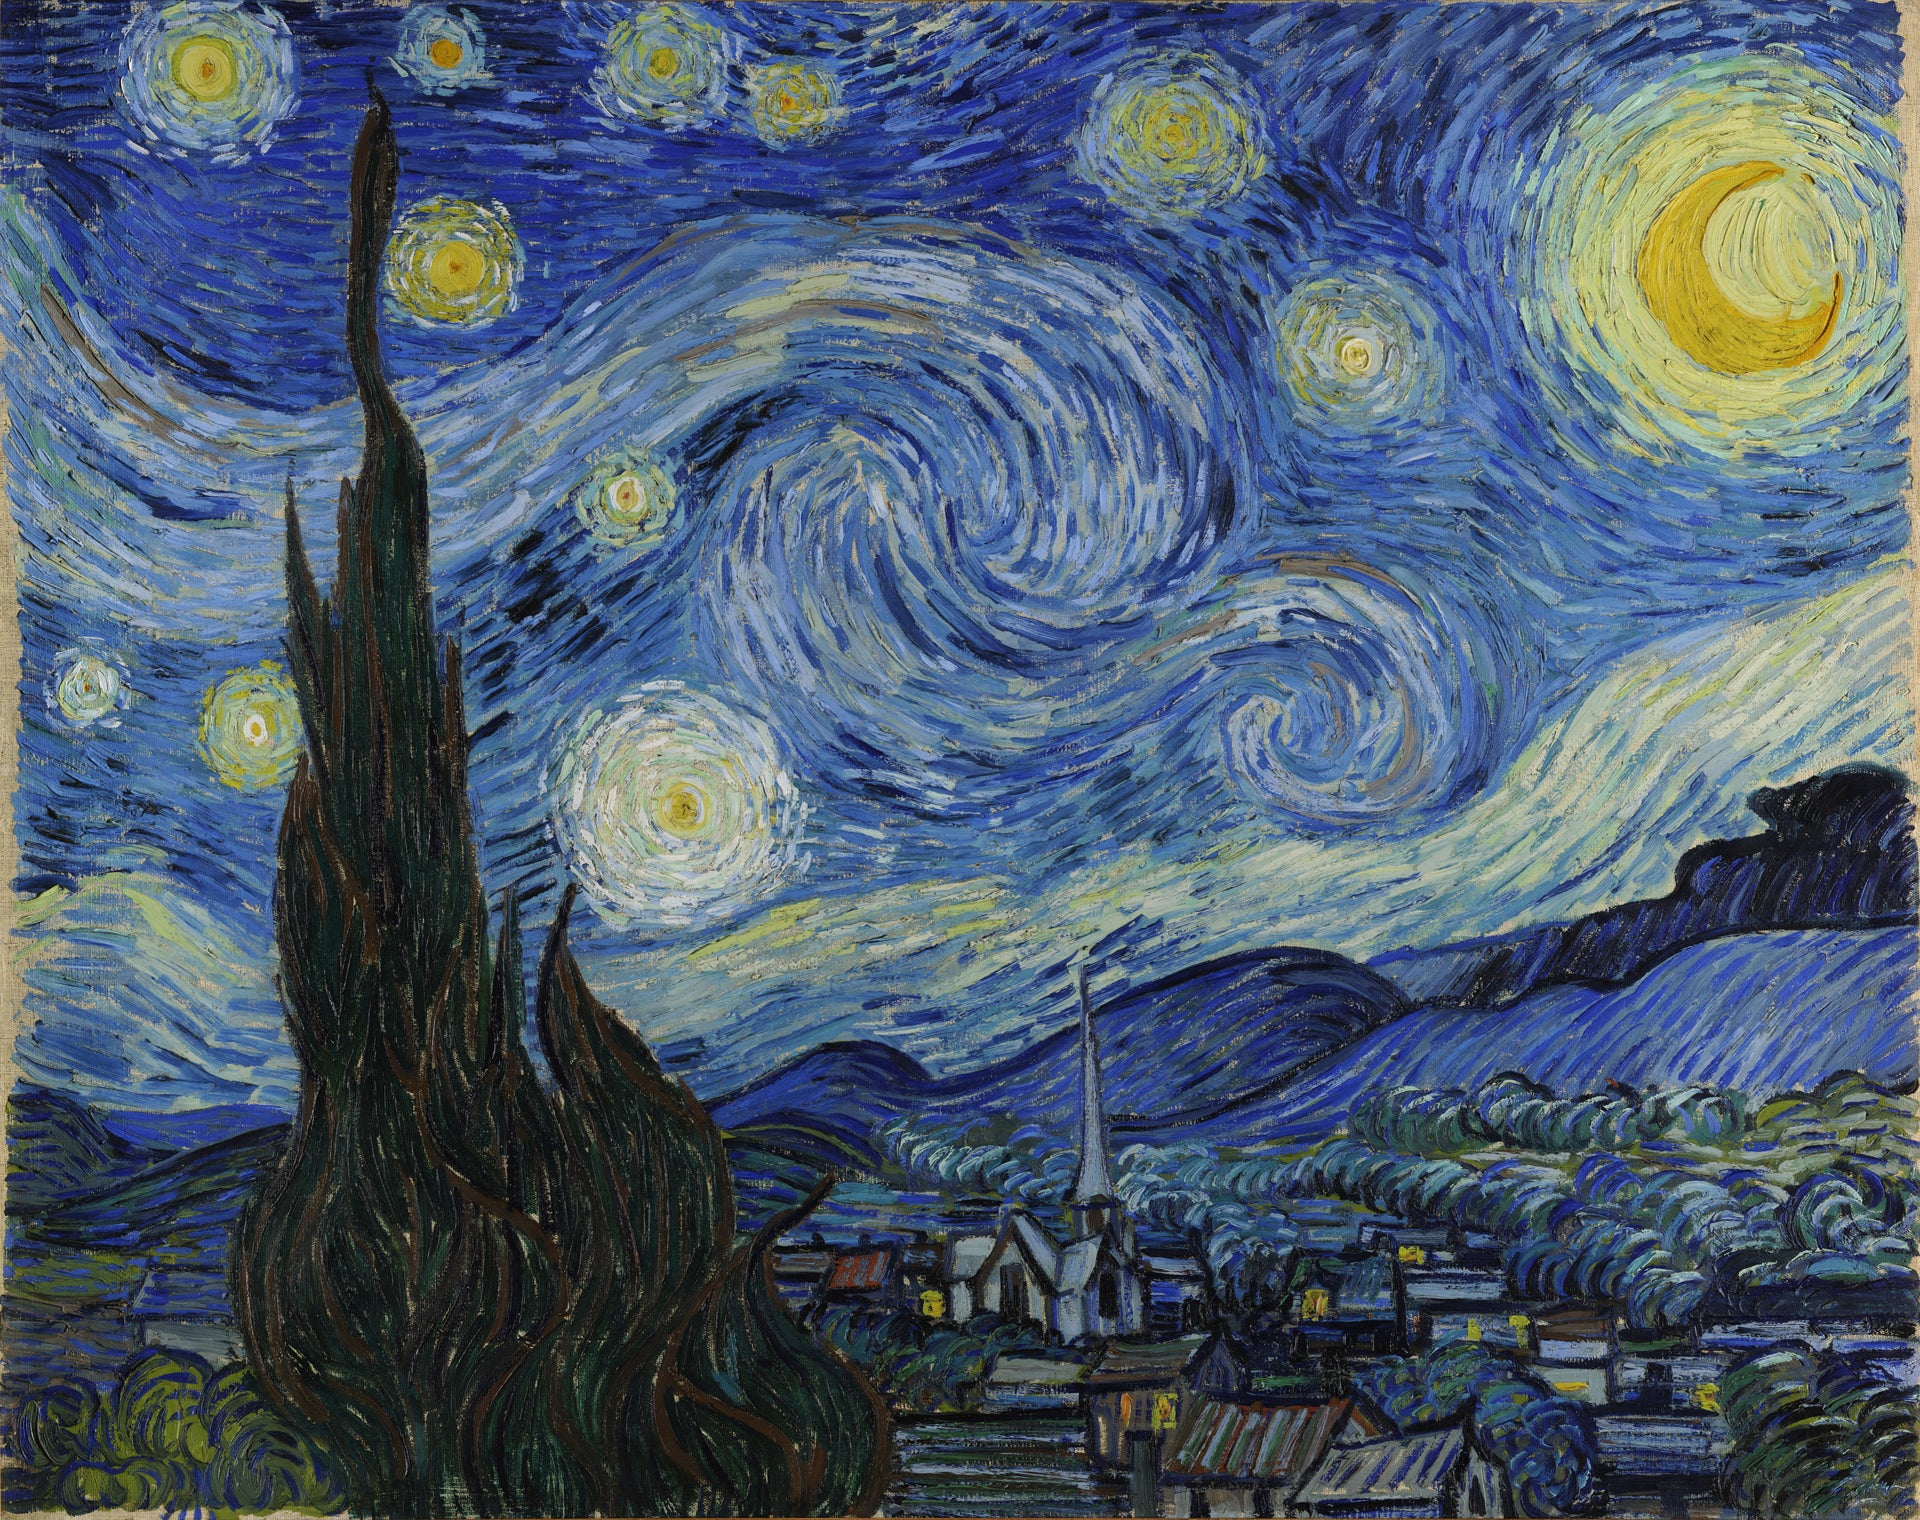
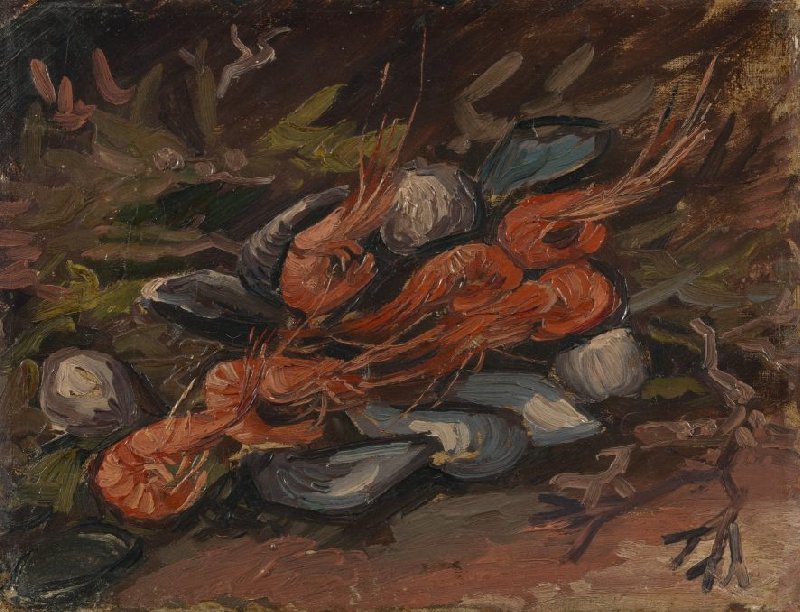
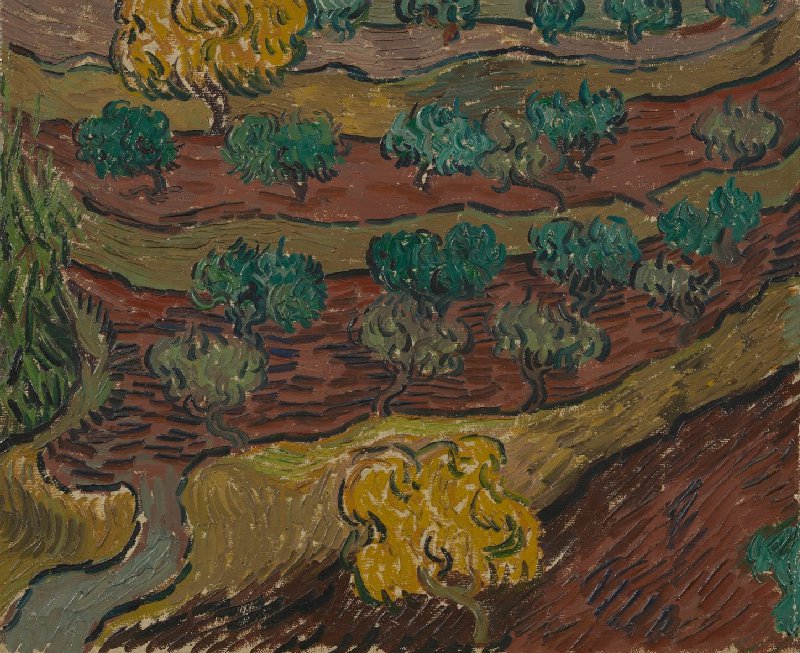
Earthly high saturation colors
• Landscapes
• Still lifes


Contrasted warm pastels
• Landscapes
• Still lifes

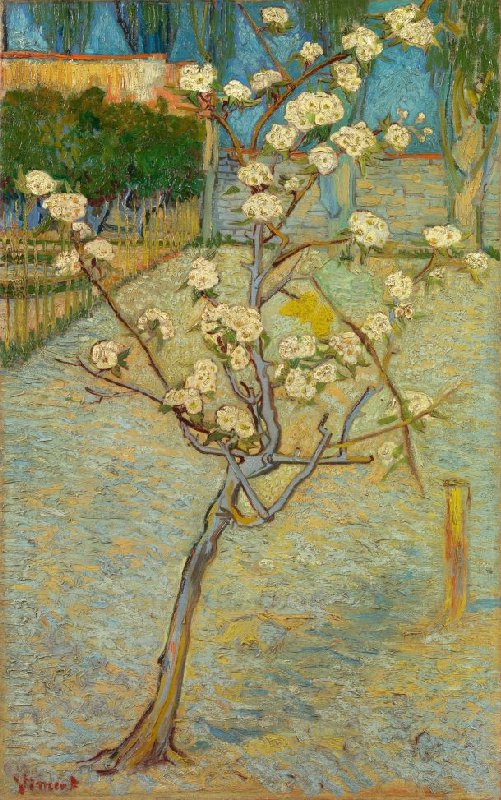

Blending with Sage green
• Portraits
• Landscapes


Rich dark bronze
• Portraits
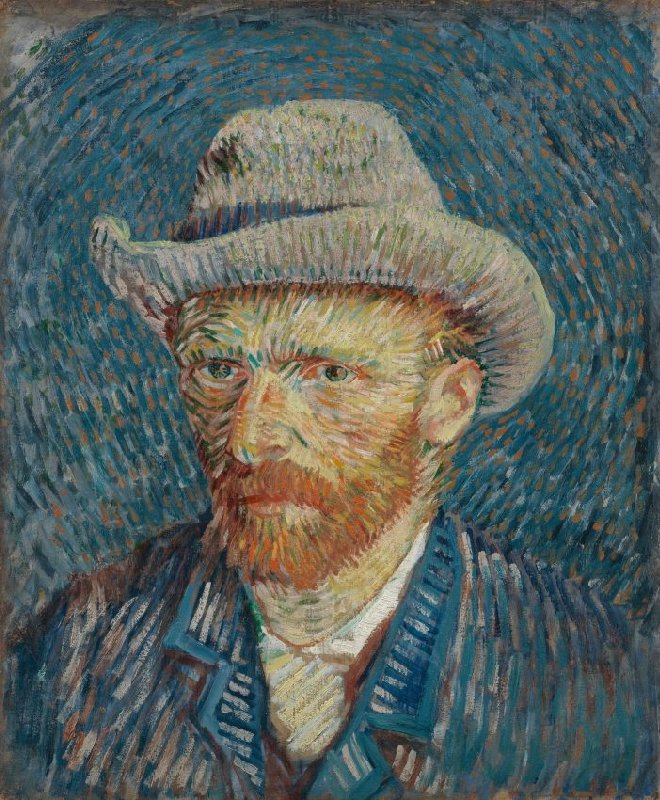


Subtle slate gray
• Portraits
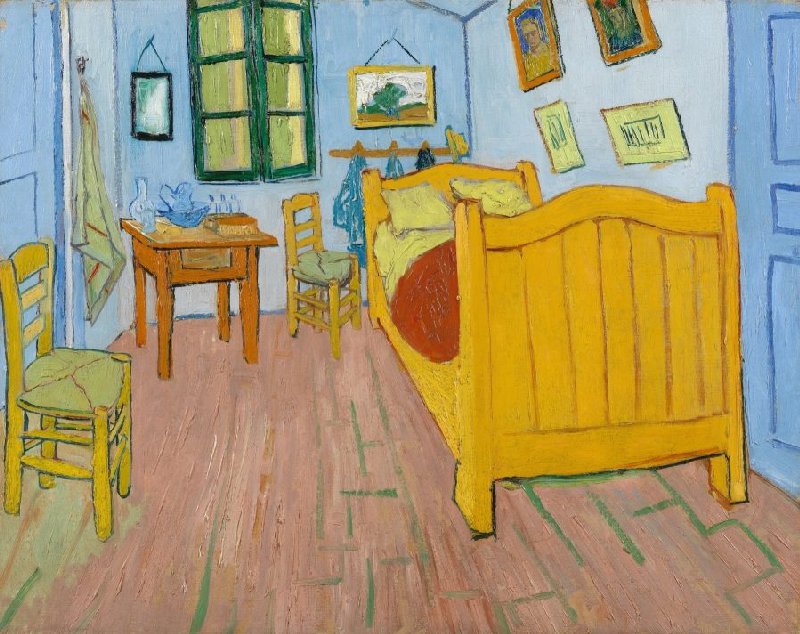
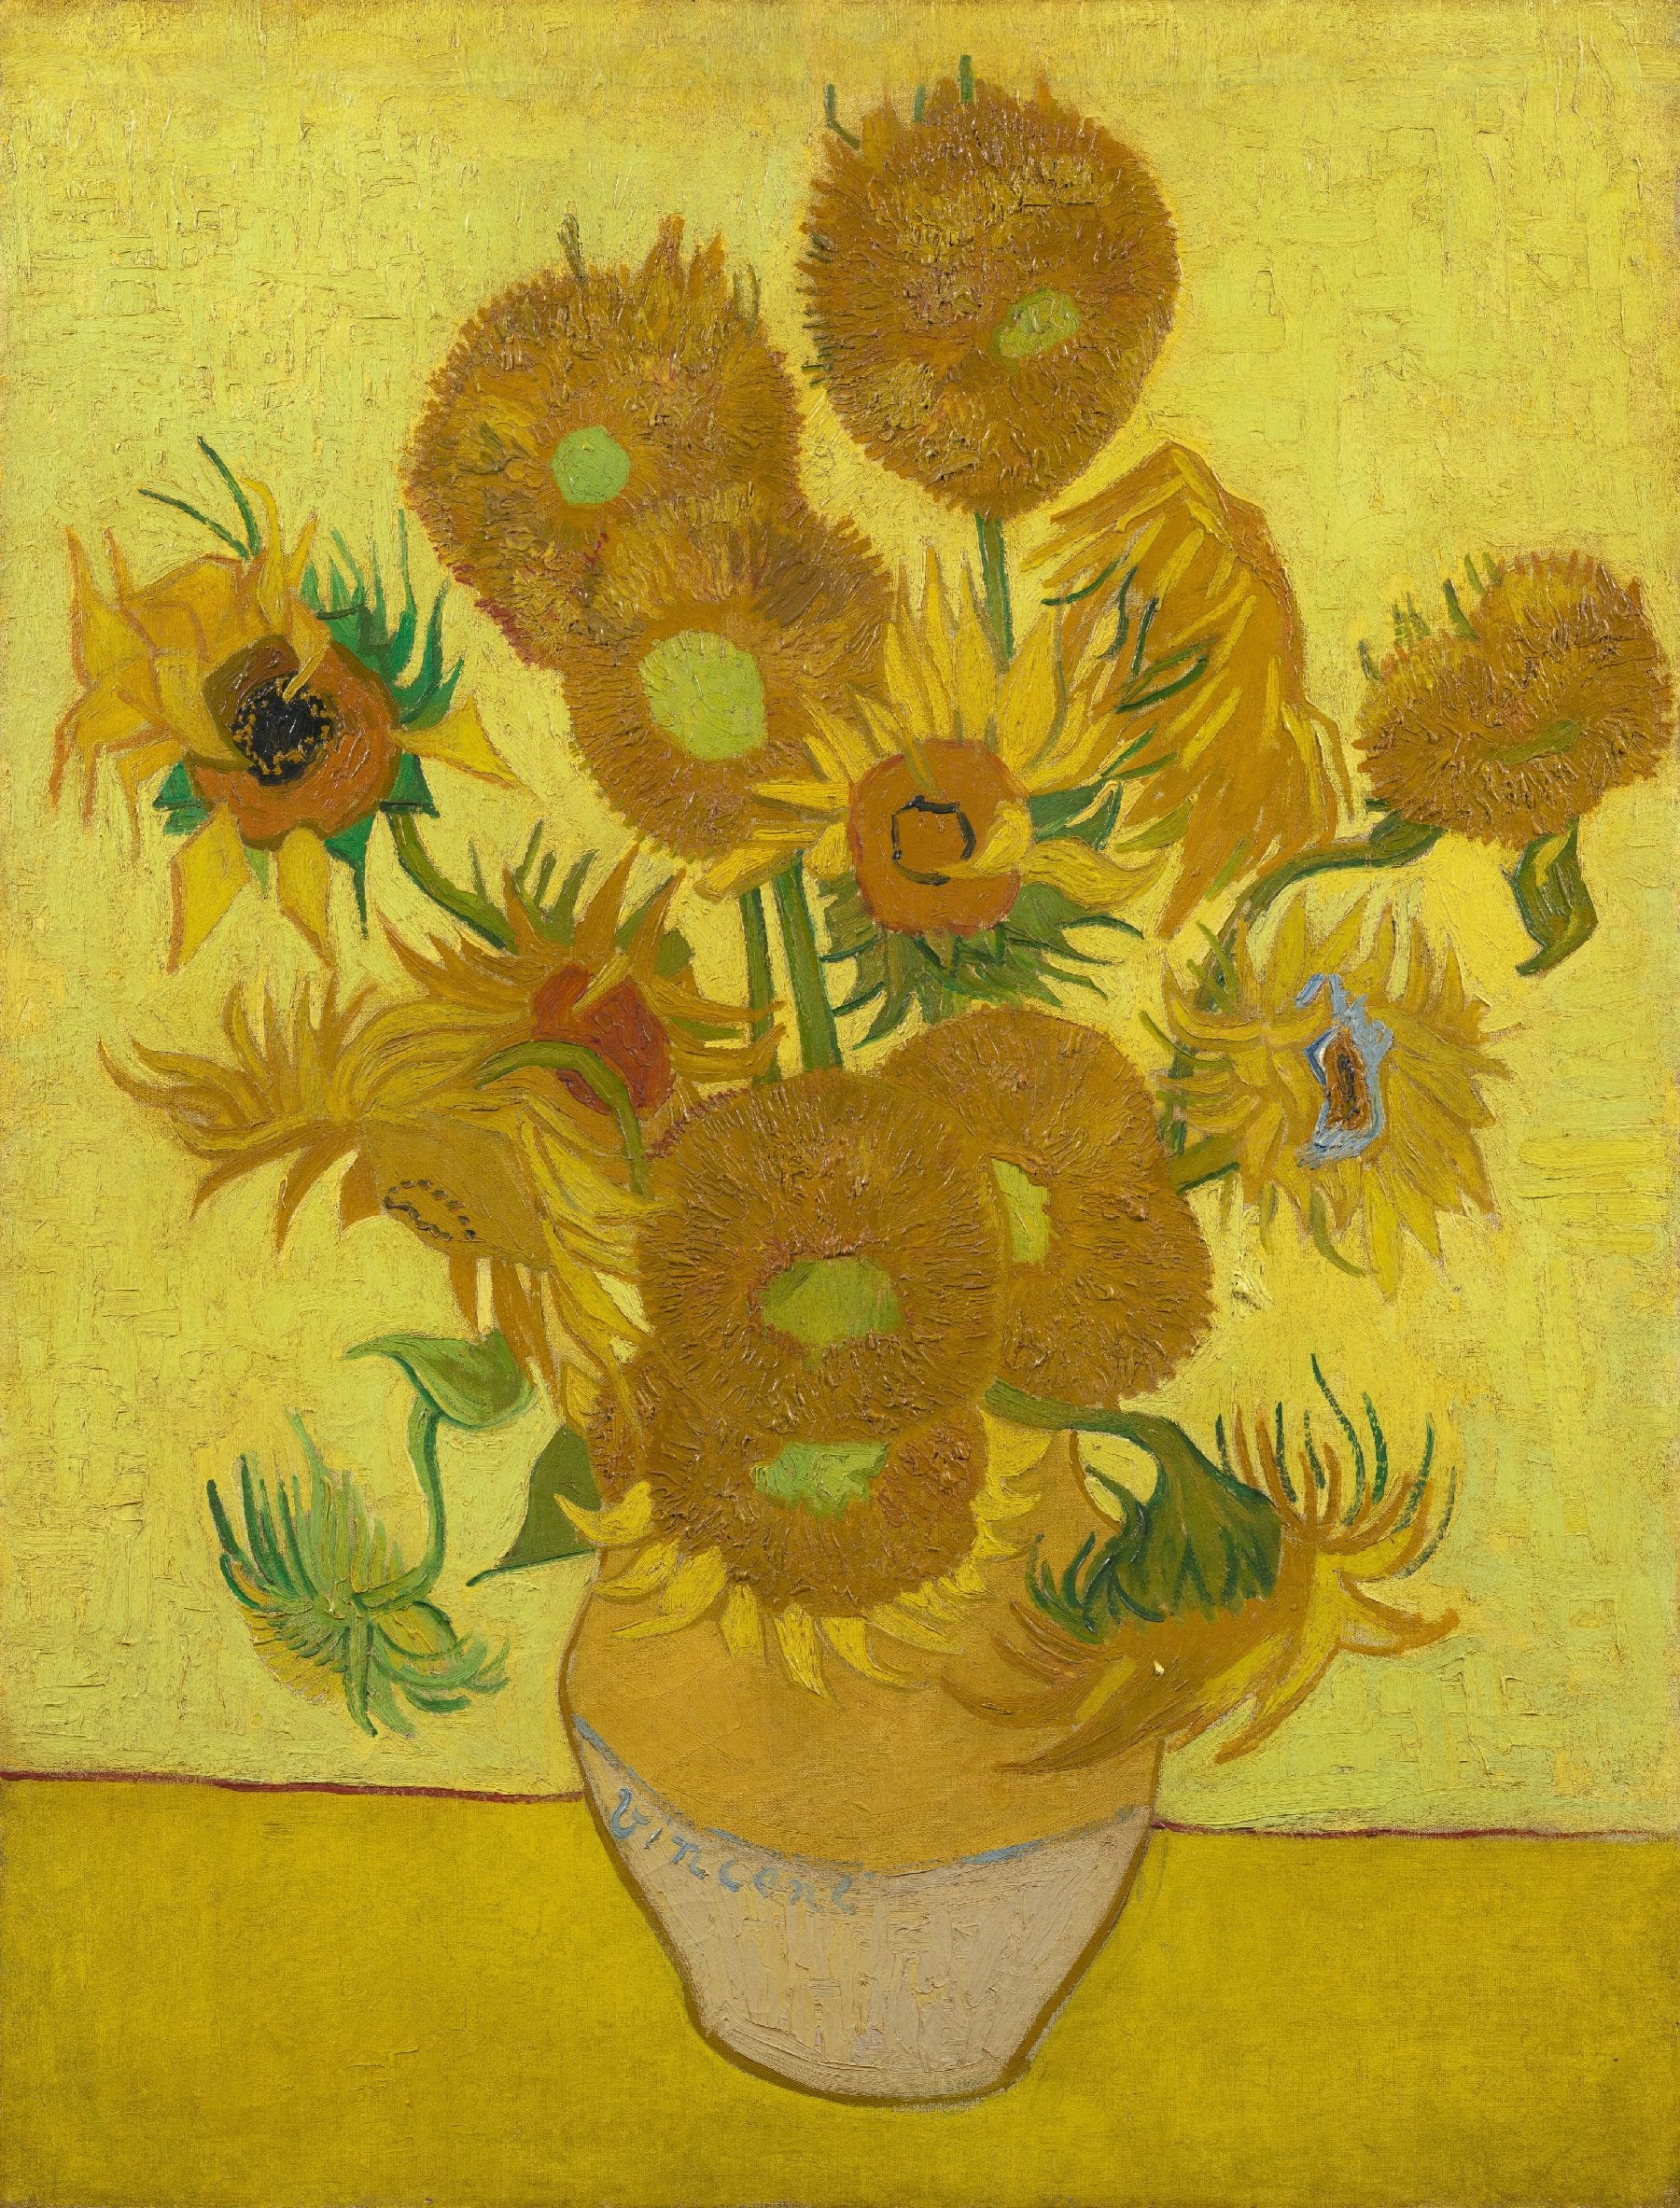

Bright polarized color scheme
• Landscapes
• Interior

Lively decontrasted
• Landscapes
• Still lifes


Chaotic autumn
• Landscapes
3
Apply to photos in various situations
It’s time to convert every category into a LUT. At first, it is helpful to use an image that looks similar to the original artwork.
Once everything looks and feels the same, it’s time to run the LUT through a pool of images to analyse what happens in various situations.
The LUT will contain a set of rules on how to handle every single color on all levels of brightness or saturation. It’s important to apply the same philosophy to photo’s that might not look similar to the original artwork.

4
Quality assurance
Once the behavior of the LUT is in line with the ambience of the artwork, it’s time to do the final check. We run the LUT through a stresstest. This contians all color and brightness levels. We make sure the transitions between the levels is as smooth as possible.


5
Ready to use package
The LUTS are finished and ready to be used for photographs, video’s in postproduction or as an overlay during the recording.


Extensions
.cube
.3dl
.xmp
Log Luts
V-log
F-log
S-log
RED-color


